
The OptoComb technology is a laser, but unlike usual lasers, it does not have a unique laser line, a unique color, but hundreds of laser lines with different colors. Because such laser lines and their spacing are very stable, the OptoComb can be used as a accurate ruler.We leverage this technology to measure distances with high-accuracy using a very simple time-of-flight measurement: we measure the time it takes for the OptoComb light to travel back and forth between the sensor and the target. By repeating such a measurement across the target area, we are able to scan in 3D the target with resolution as high as 1 micron.

Our Optocomb 3D scanners are the first industrial application of the Nobel-prize winning Optocomb technology. With their coaxial configuration, their long working distance, their 500kHZ rate and a resolution as high as 1μm, OptoComb scanners are the ideal 3D scanning solution for a fully automated quality control. OptoComb scanners have a reliable track record for the GD&T of your most complex parts and for the detection of a large range of 3D defects such as dents, scratches, particles, burrs and more.
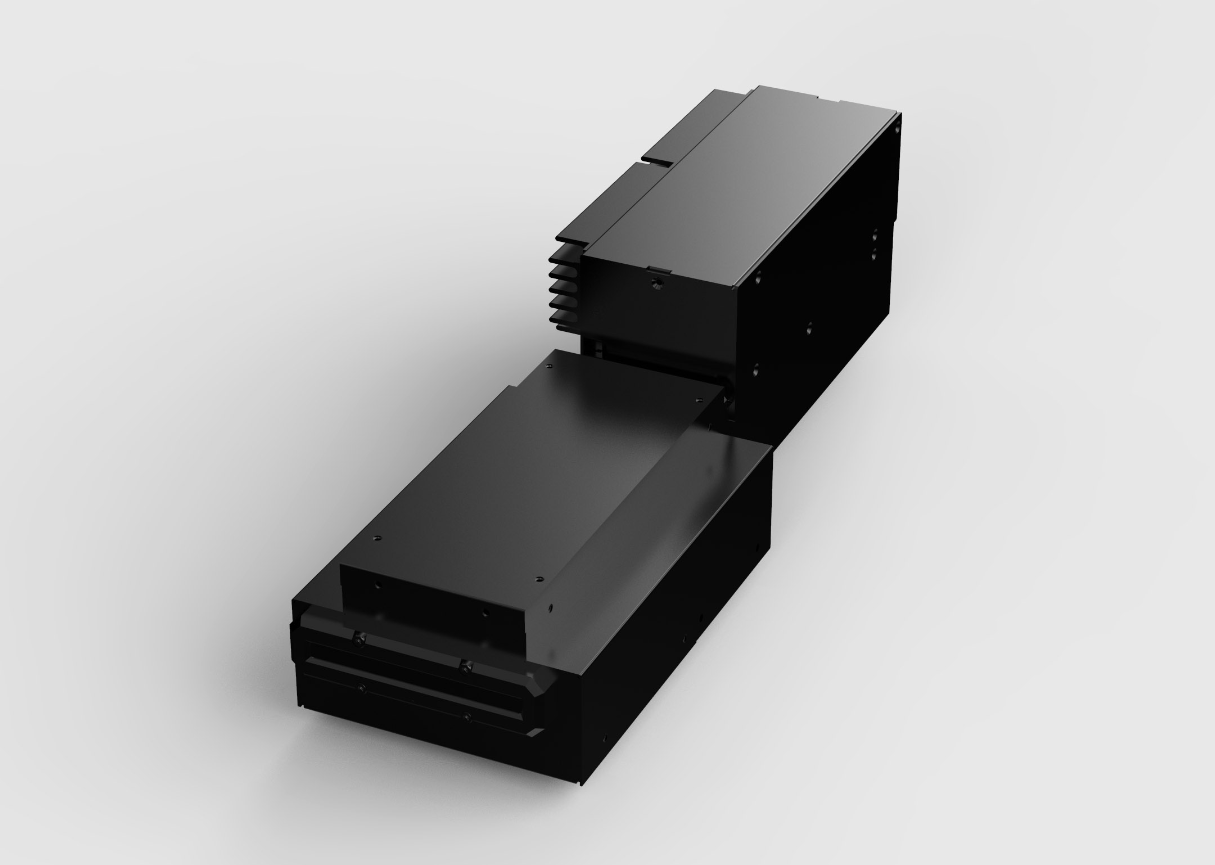
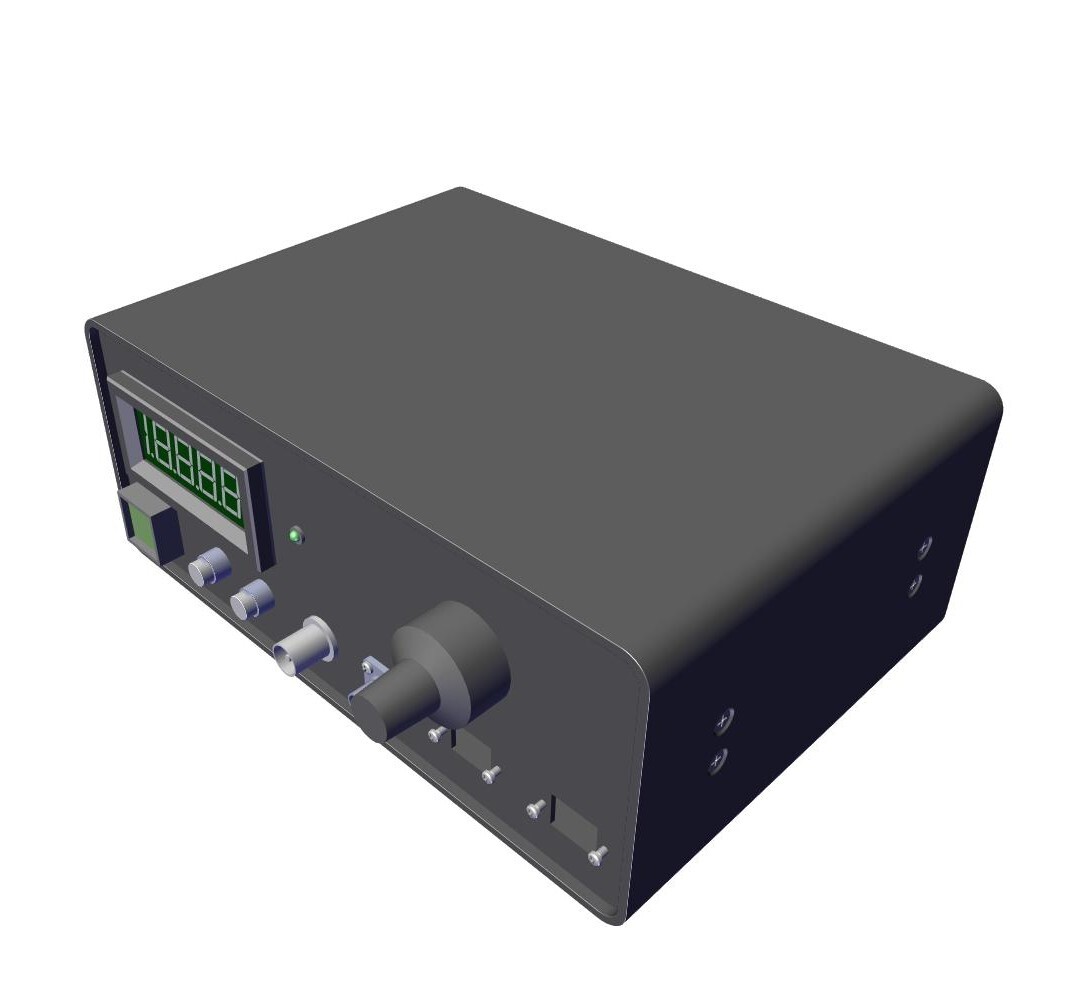
Optical Comb Generator is a module that generates an optical comb laser. Since it is a completely passive device, it produces a very stable optical comb.
It is best suited for research applications. There are two models to choose from: a stand-alone optical comb module and a temperature-controlled model.
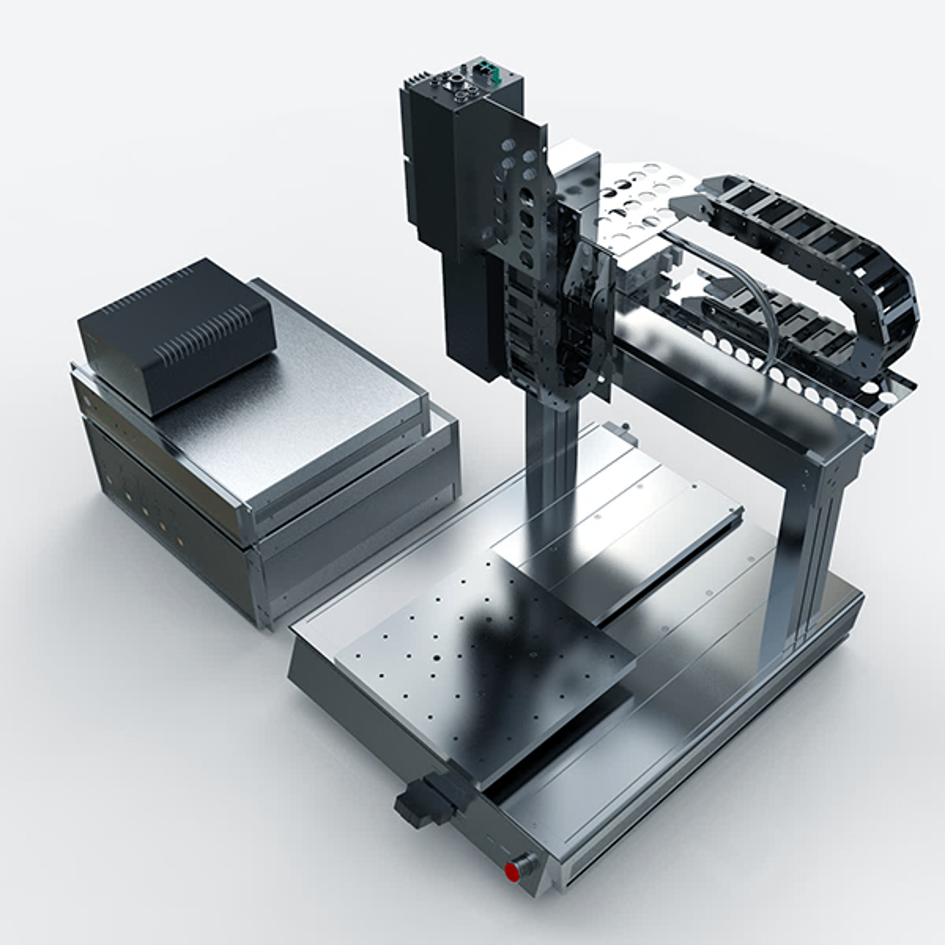
This is a base model of a 3D inspection device that utilizes Opto Comb 3D sensor. Inspect the top surface of the workpiece using the XYZ stage. It is possible to inspect the appearance, shape, and dimensions of parts with complex shapes, such as the machined surfaces of cast products with irregularities, in a single measurement. It can be used in a wide range of applications, including simultaneous inspection of multiple small workpieces lined up.
High-speed helical scanning using an optical comb laser makes it possible to inspect the inner surface of parts with high precision. Unlike existing internal surface inspection equipment, a single spindle can handle a wide range of diameters. Appearance, shape, and dimensions can be automatically inspected by measuring position. We can handle everything from general-purpose desktop inspection equipment to in-line 100% inspection.
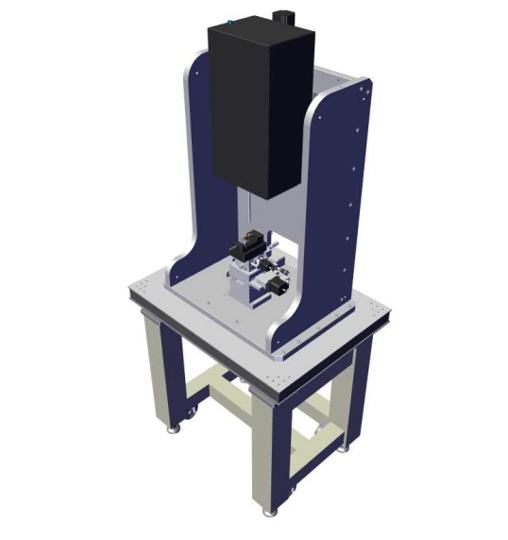
This model is equipped with an OptoComb SA (top surface inspection device), an image camera, and AI. Imaging is performed using an image camera, defect candidates are detected using AI at high speed, and the defect candidates detected by AI are measured using an optical comb 3D sensor. Measured areas are quantified in 3D based on rules, and complete 3D quantitative inspections can be performed at high speed.
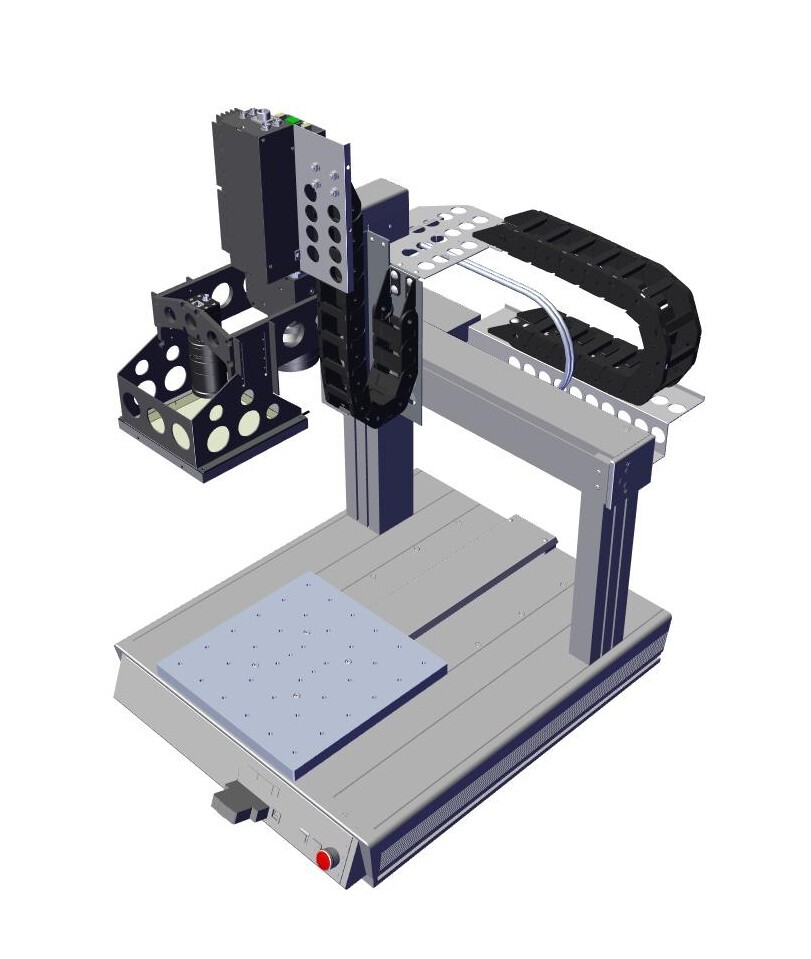
This is a top-of-the-line solution for automatic visual inspection that is equipped with a robot arm, an image camera, an optical comb 3D sensor, and AI. Defect candidates are detected quickly using an image camera and AI, and the defect candidates are measured using an optical comb 3D sensor. By using a robot arm, we can perform multi-sided inspection of large, complex-shaped workpieces.
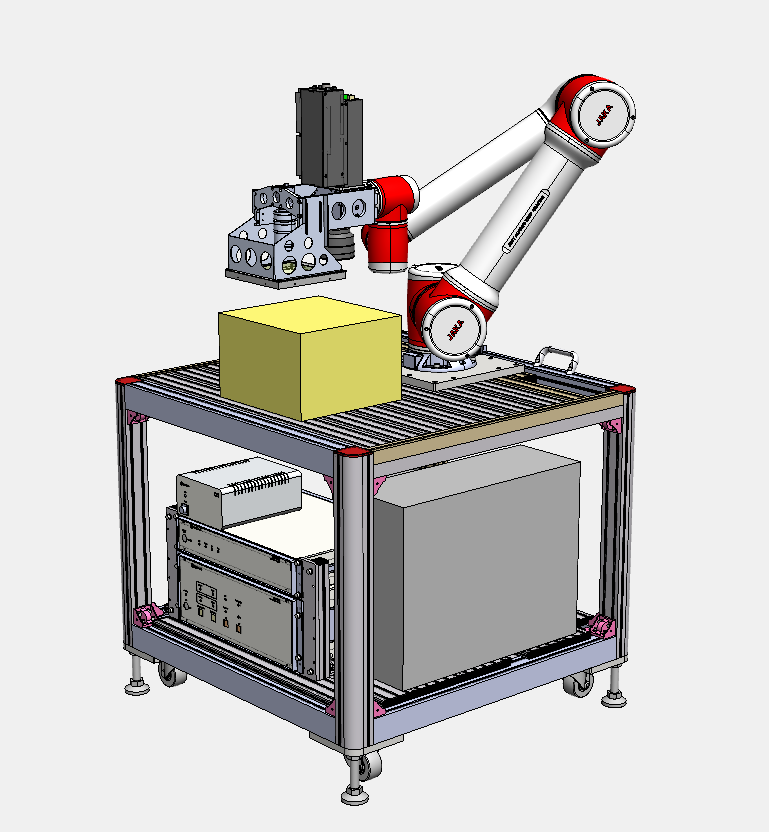
Leveraging their unique coaxial configuration and high accuracy, OptoComb 3D scanners can be combined with a 45° mirror to successfully inspect the inner walls of bores and complex cylindrical structures in seconds.
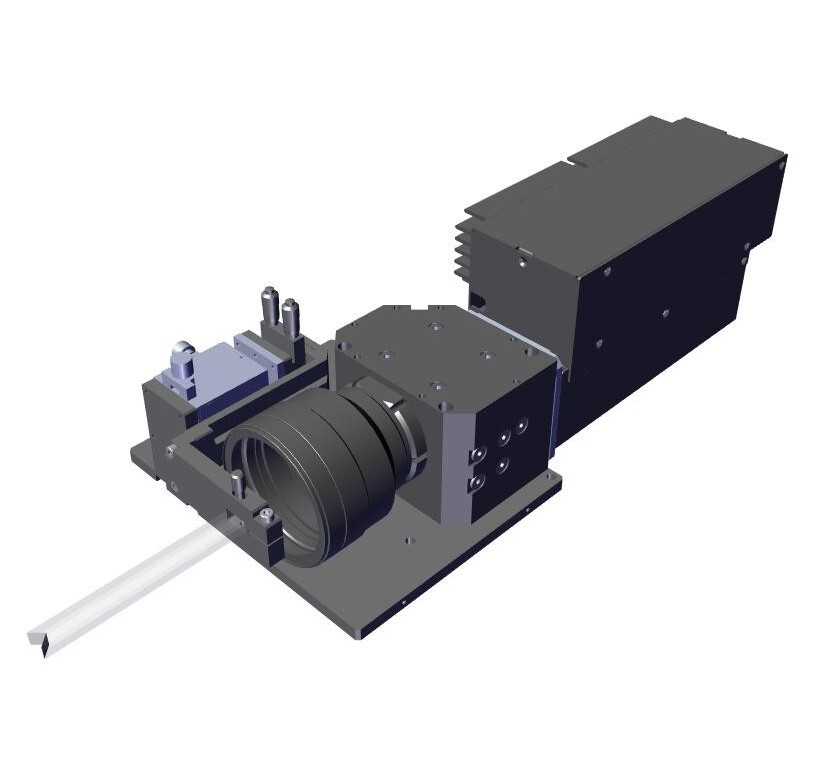
OptoComb 360 is a unique inspection system combining an OptoComb 3D scanner with a rotating stage to scan objects over 360°. With this system, We brings a new visual and dimensional inspection solution to the table and enables the outer surface of spools and other structures with rotational symmetry to be measured with high accuracy.
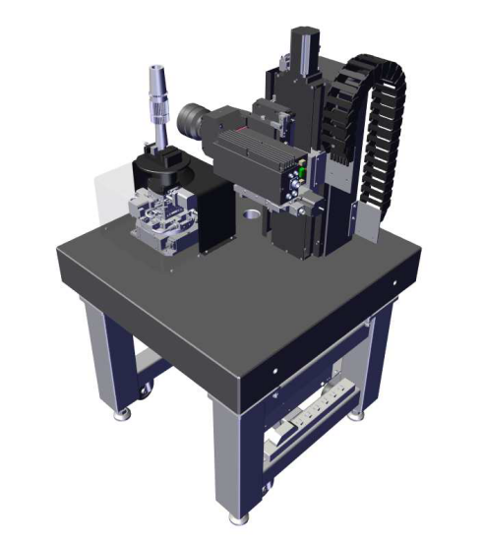
OptoComb MPV is a non-contact multi-point vibration measurement system based on optical frequency comb technology. The system enables simultaneous measurement of transient vibration responses at up to 52 points on the workpiece surface.
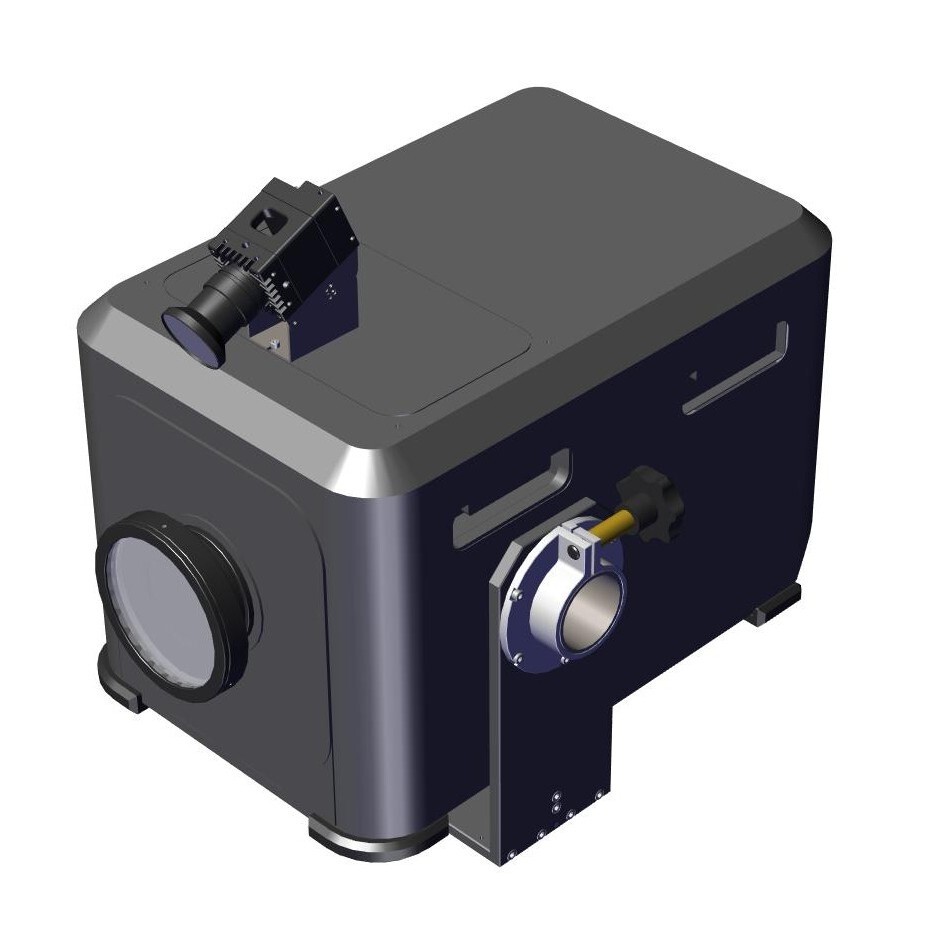
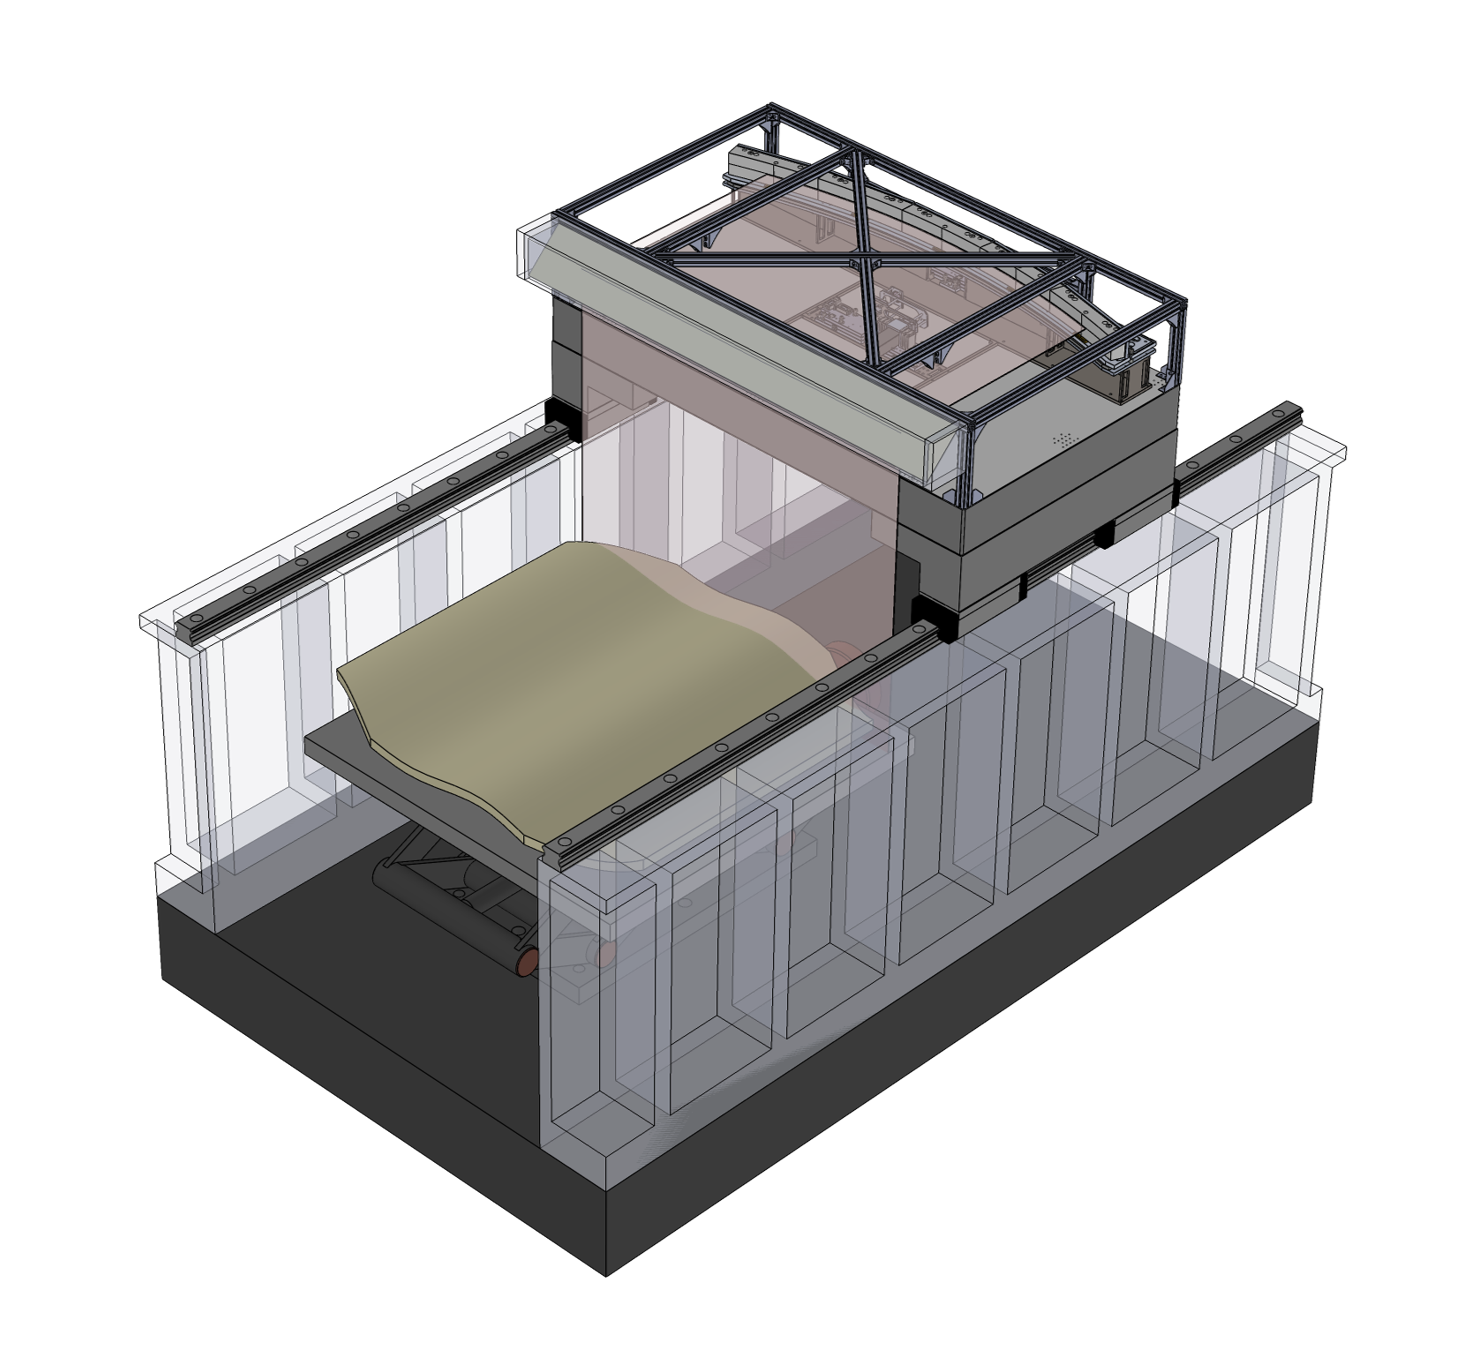
OptoComb XL series is a 3D measuremnet and inspection system for the application of extra-large workpieces. With the XL series solution, 3D measurement and inspection of large object ranging from 470~2000mm in width can be performed in one go. A solution that can only be provided by OptoComb, Inc.
