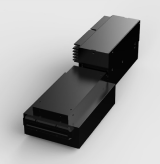

HARDWARE
Optimizing inspection by combining Optocomb lasers and optical cameras.
The reason why automated inspection is so difficult to implement is that there is a wide variety of defects to be inspected, and it is practically impossible to detect all of them with a single sensor. Conversely, using different sensors for different types of defects is time-consuming and costly, and as a result, it becomes a major barrier to automating the inspection process. Even though optical comb sensors can detect a very wide range of defects, optical comb sensors and optical cameras are still complementary in their detection capabilities. For example, a two-dimensional blemish can be detected by an optical camera, but not by an optical comb sensor. A foreign object made of the same material cannot be detected by an optical camera because there is almost no color difference, but it can be detected by an optical comb sensor. Having both an optical comb and an optical camera operating hand in hand in a single system would thus be a significant breakthrough in the world of visual inspection.
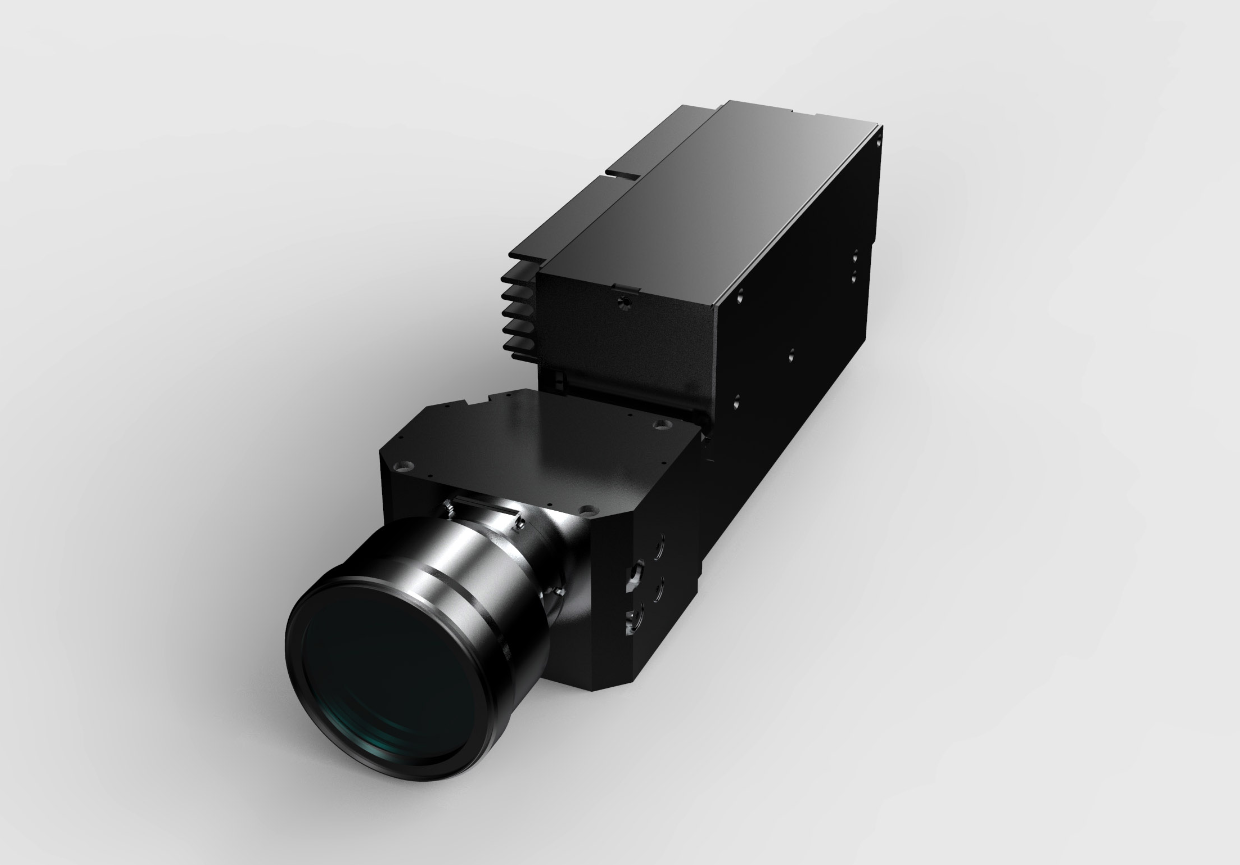
This is exactly OptoComb offers with its hybrid solution: a fully automated system integrating both a 12 Megapixel optical camera and a high-resolution S40 optical comb sensor. The system maximizes resolution in all three directions for an optimal visual inspection and defect detection process. Furthermore, by taking advantage of the very high speed of the optical camera, our hybrid system can reduce the number of defects that needs to be scanned in 3D by the slower optical comb sensor, thereby greatly reducing the cycle time of the overall automated inspection process.
View more


View more
Takt time is reduced by performing image inspection using a camera and quantitative inspection using an optical comb scanner only for areas with abnormalities. A solution that can be integrated into manufacturing inline.
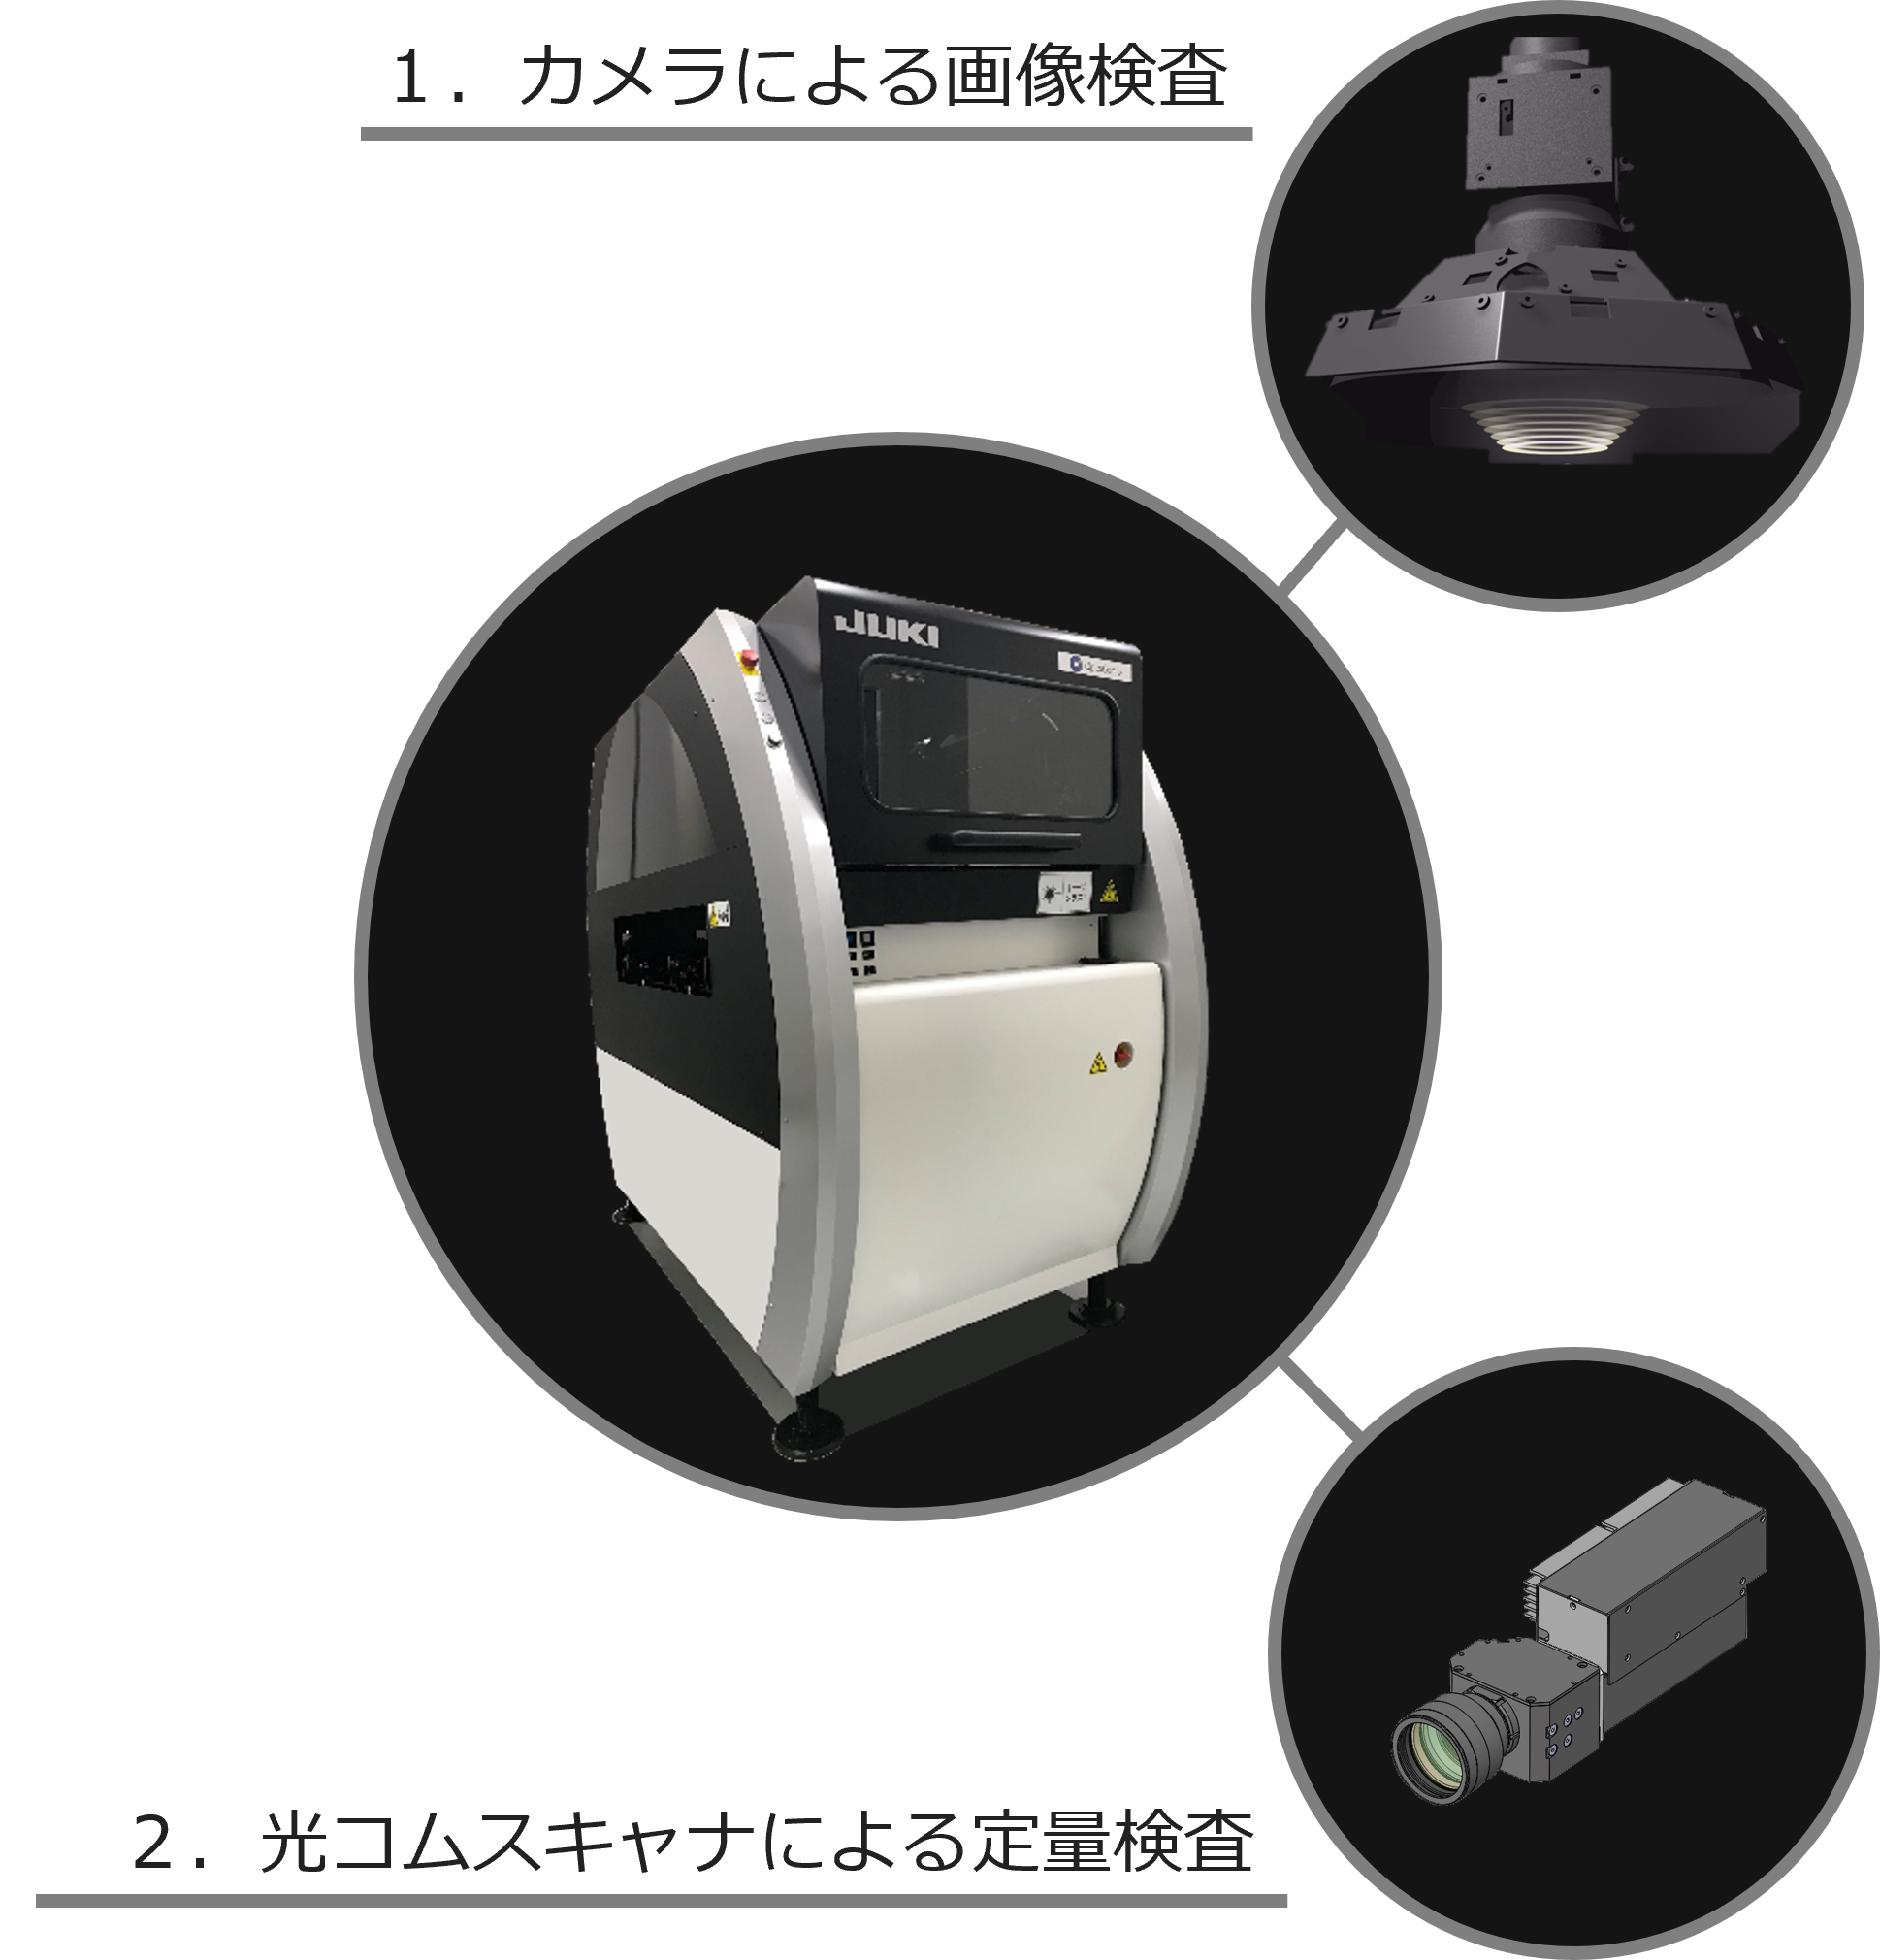
We detect defects in the entire product using an optical camera that can cover a wide range.
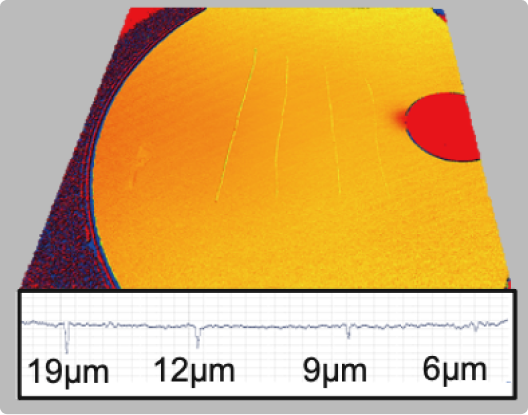
We perform quantitative inspections to ensure that quality control standards are met based on the locations of scratches and burrs detected with an optical camera.
Applications
View more
加工部品は常にバリとの闘いとなります。その工法の性質上、バリを完全になくすことは難しい一方で、高さ方向のある欠陥であるバリは重要機能障害を起こすケースも多くあ

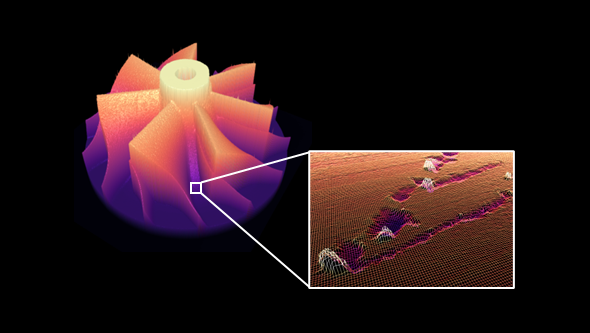
加工部品は常にバリとの闘いとなります。その工法の性質上、バリを完全になくすことは難しい一方で、高さ方向のある欠陥であるバリは重要機能障害を起こすケースも多くあります。しかし、バリは小さくまた、高さ方向があるため、その検出方法は非常に難しく、バリをどうやって次工程に流さないかはとても難しい製造の課題となっています。

加工部品は常にバリとの闘いとなります。その工法の性質上、バリを完全になくすことは難しい一方で、高さ方向のある欠陥であるバリは重要機能障害を起こすケースも多くあります。しかし、バリは小さくまた、高さ方向があるため、その検出方法は非常に難しく、バリをどうやって次工程に流さないかはとても難しい製造の課題となっています。

加工部品は常にバリとの闘いとなります。その工法の性質上、バリを完全になくすことは難しい一方で、高さ方向のある欠陥であるバリは重要機能障害を起こすケースも多くあります。しかし、バリは小さくまた、高さ方向があるため、その検出方法は非常に難しく、バリをどうやって次工程に流さないかはとても難しい製造の課題となっています。

加工部品は常にバリとの闘いとなります。その工法の性質上、バリを完全になくすことは難しい一方で、高さ方向のある欠陥であるバリは重要機能障害を起こすケースも多くあります。しかし、バリは小さくまた、高さ方向があるため、その検出方法は非常に難しく、バリをどうやって次工程に流さないかはとても難しい製造の課題となっています。
View more
ダダミーテキストミーテキストダミーテキストダミーテキストダミーテキストダミーテキストダミーテキストダミーテキスト

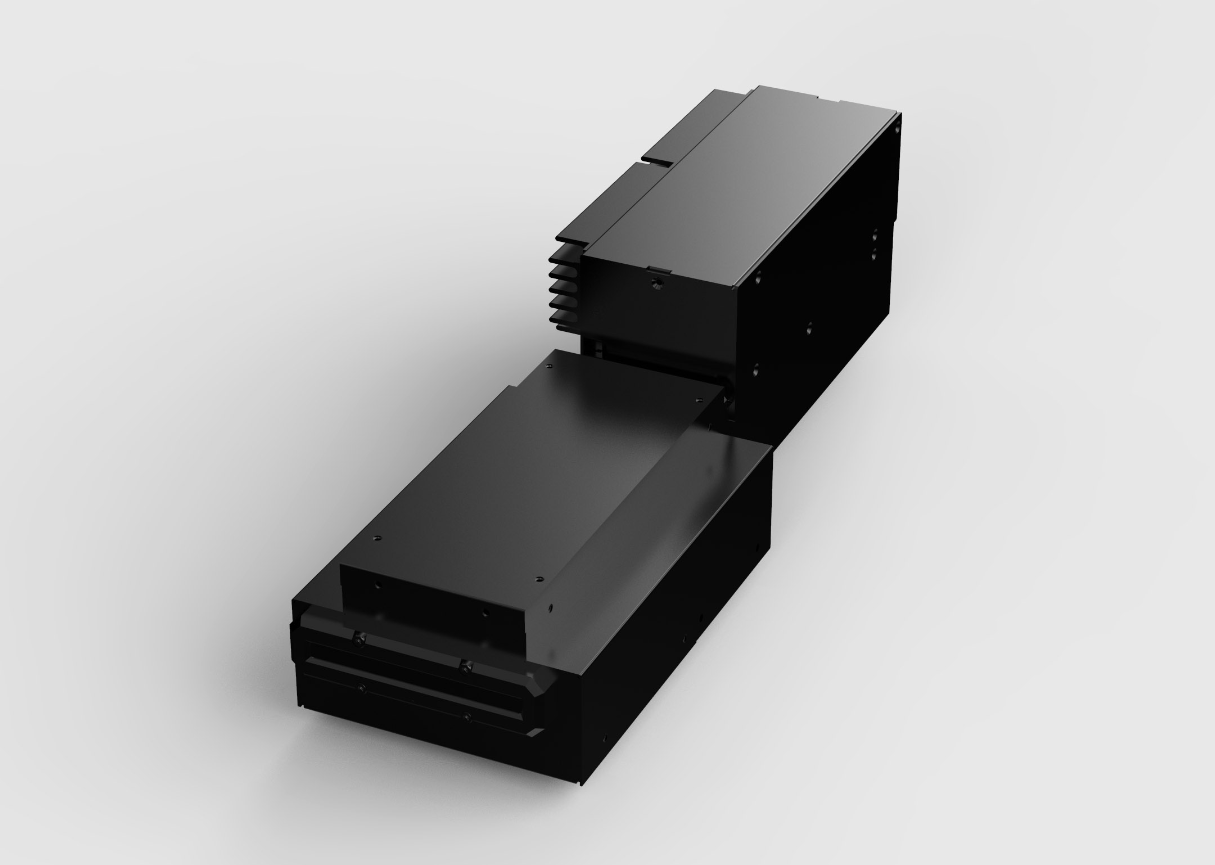
Optocomb 3D scanners by XTIA are the first industrial application of the Nobel-prize winning Optocomb technology. With their coaxial configuration, their long working distance, their 500kHZ rate and a resolution as high as 1μm, OptoComb scanners are the ideal 3D scanning solution for a fully automated quality control. OptoComb scanners have a reliable track record for the GD&T of your most complex parts and for the detection of a large range of 3D defects such as dents, scratches, particles, burrs and more.
不明

不明

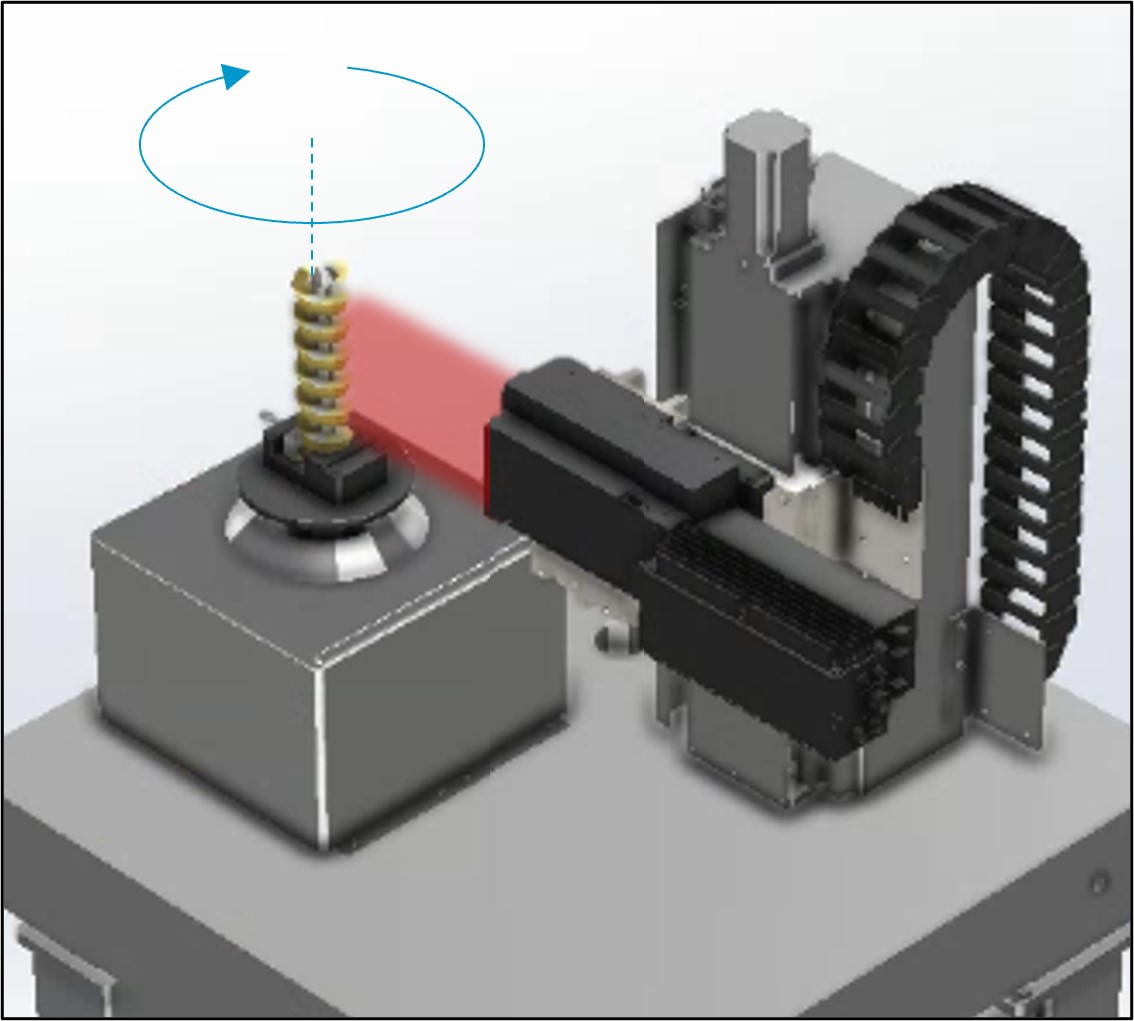
OptoComb 360 is a unique inspection system combining an OptoComb 3D scanner with a rotating stage to scan objects over 360°. With this system, XTIA brings a new visual and dimensional inspection solution to the table and enables the outer surface of spools and other structures with rotational symmetry to be measured with high accuracy.
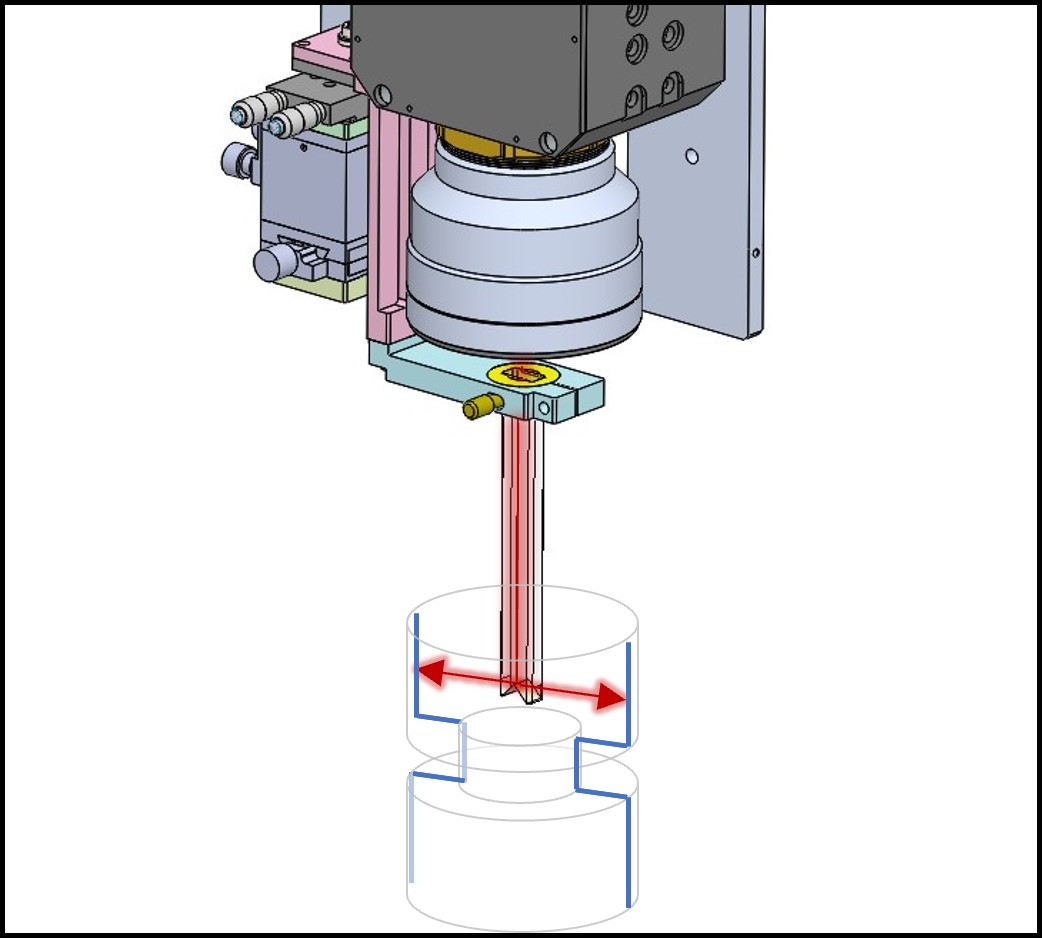
Leveraging their unique coaxial configuration and high accuracy, OptoComb 3D scanners can be combined with a 45° mirror to successfully inspect the inner walls of bores and complex cylindrical structures in seconds.
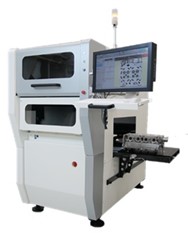
In collaboration with its partner JUKI, XTIA offers its Hybrid solution: a fully automated system integrating both a 12 Megapixel optical camera and a high-resolution S40 OptoComb 3D scanner. The system maximizes resolution in all three directions for an optimal visual inspection and defect detection process. By taking advantage of the very high speed of the optical camera, our hybrid system can reduce the cycle time of the overall automated inspection process.
不明

不明

不明
